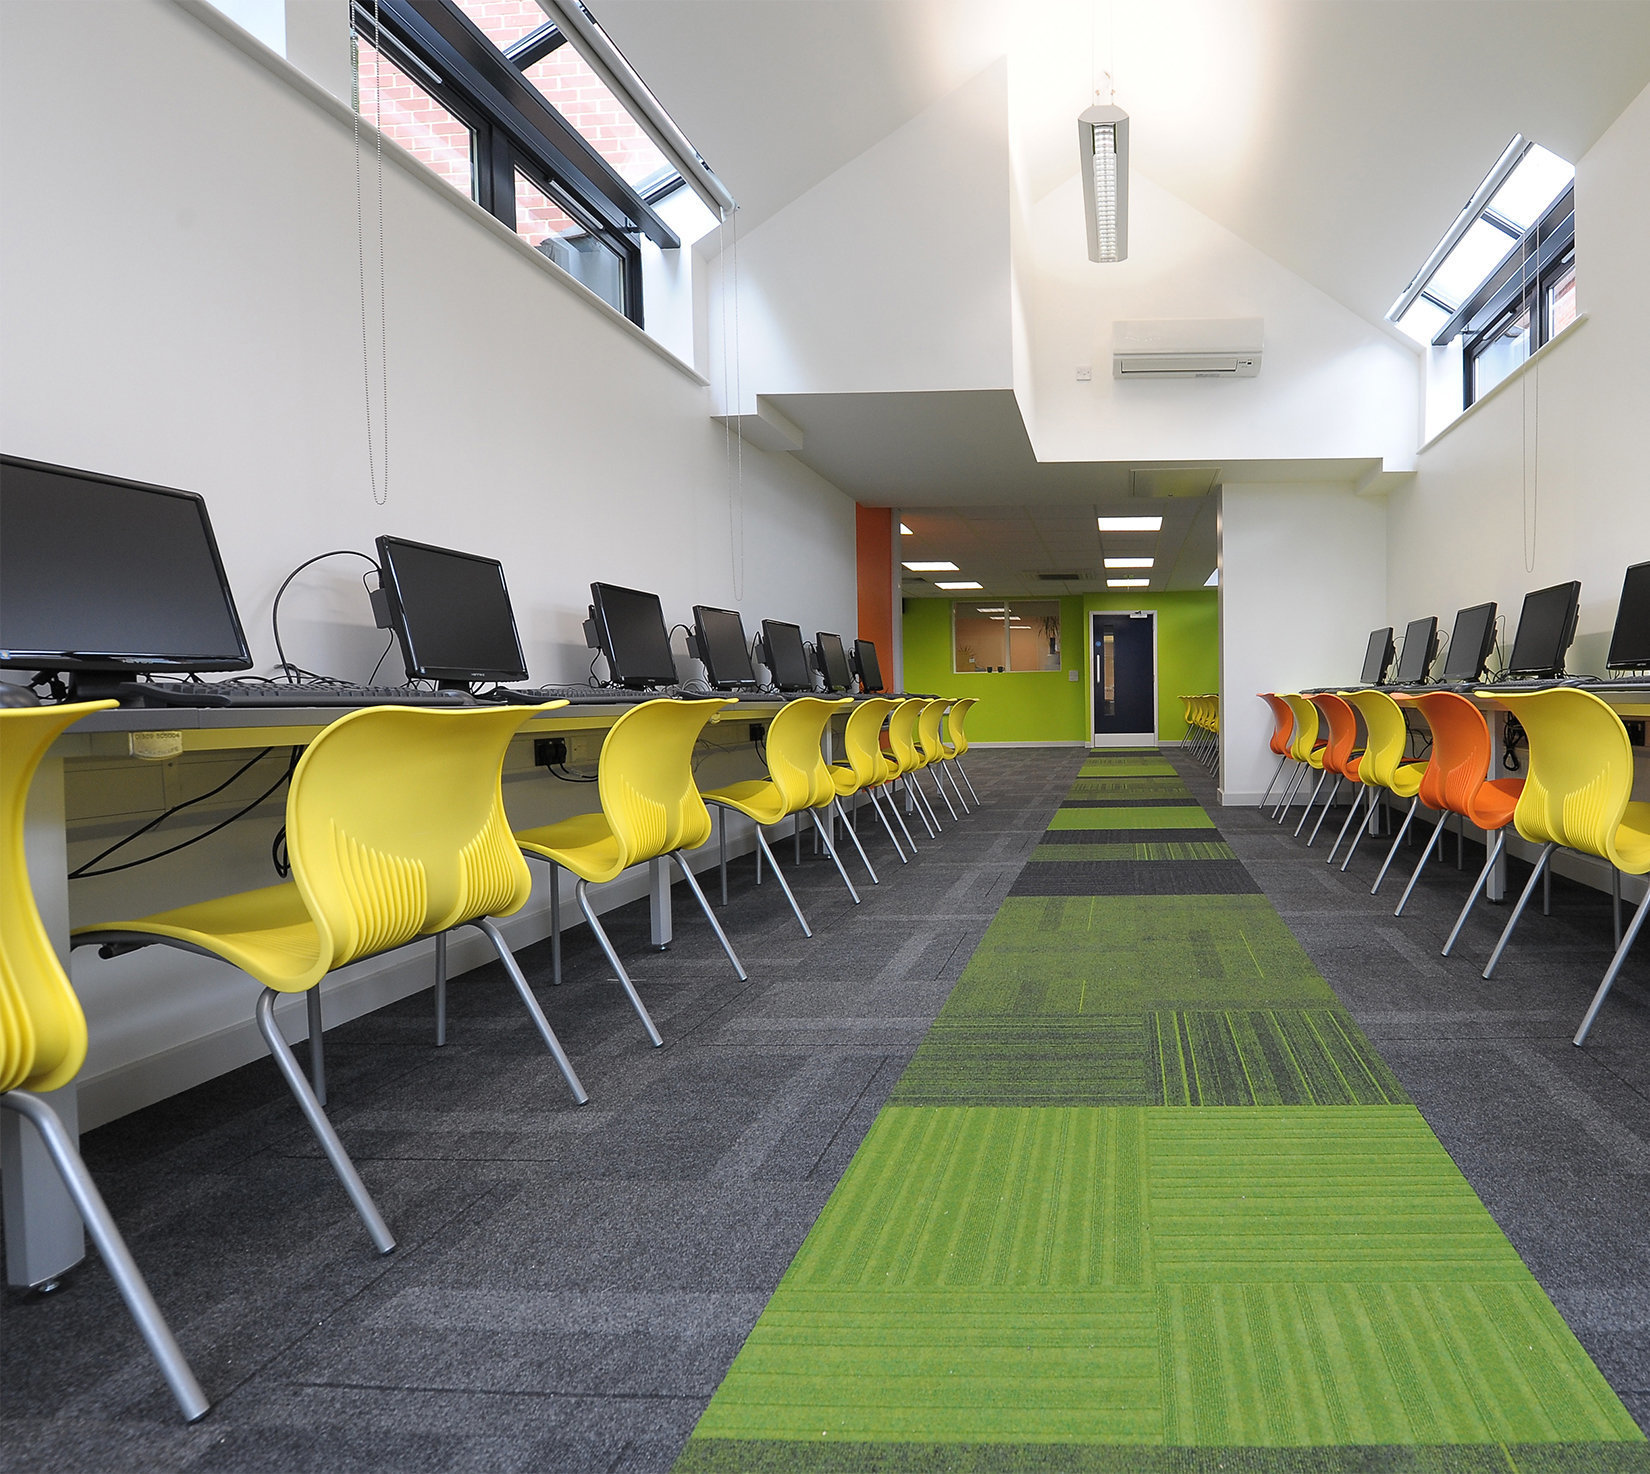
A Comprehensive Guide to Painting a Classroom: Creating a Vibrant and Inspiring Learning Environment!

A Comprehensive Guide to Painting a Classroom: Creating a Vibrant and Inspiring Learning Environment!
Painting a classroom is a wonderful way to refresh the space and create an environment that energizes and inspires both teachers and students. Whether you're looking to incorporate new colors or touch up existing ones, this guide will help you navigate the process smoothly and efficiently.
- Plan and Prepare:
Before diving into the painting process, take the time to plan and prepare. Consider the following steps:
a. Choose Colors: Select colors that align with your teaching style and the atmosphere you want to create. Bright and vibrant colors can promote creativity and enthusiasm, while softer tones can create a calm and focused ambiance. Take into account the size of the classroom, lighting conditions, and the existing decor.
b. Gather Supplies: Ensure you have all the necessary supplies, including paint rollers, brushes, drop cloths, painter's tape, primer (if needed), and the chosen paint colors. Measure the walls and calculate the amount of paint required to avoid running out in the middle of the project.
c. Prep the Space: Remove furniture, artwork, and other objects from the walls and cover the remaining furniture and flooring with drop cloths or plastic sheets to protect them from paint splatters.
- Prep the Walls:
a. Clean the Walls: Thoroughly clean the walls by dusting, wiping, or using a mild detergent solution. This ensures that the paint adheres properly and results in a smooth finish.
b. Repair Imperfections: Inspect the walls for any cracks, holes, or other imperfections. Patch them up with spackle or putty, and sand the surface once dry to create an even and smooth canvas for painting.
c. Prime (if necessary): If you're changing from a dark to a lighter color or if the walls have stains or discoloration, applying a primer can help achieve a uniform and vibrant final result.
- Painting Techniques:
a. Start with the Ceiling: Begin by painting the ceiling to avoid any accidental drips or splatters on freshly painted walls. Use a roller on an extension pole for easy coverage.
b. Trim and Edges: Carefully use painter's tape to mask off trim, doors, windows, and any other areas you want to keep paint-free. Use a brush or small roller to paint these edges with precision.
c. Walls: When painting the walls, start from the top and work your way down. Use a roller for larger areas, applying even pressure and using a "W" or "M" motion for optimal coverage. Paint one wall at a time and allow each coat to dry before applying additional coats.
d. Finishing Touches: Once the main coats are dry, remove the painter's tape slowly and gently. Touch up any missed spots or uneven edges with a brush. Clean up any accidental drips or smudges promptly.
- Ventilate and Dry:
Ensure the room is well-ventilated during and after the painting process to allow the paint fumes to dissipate. Open windows, use fans, or consider painting during school breaks when the room is unoccupied. Follow the manufacturer's instructions regarding the drying time between coats and for the final curing period.
- Classroom Set-Up:
Once the paint is dry and the room is ready, rearrange the furniture, rehang artwork, and decorate the space to create an engaging and inspiring classroom environment. Consider incorporating student work or educational posters to add a personal touch.
Conclusion:
Painting a classroom is a transformative process that breathes new life into the learning space. By carefully planning, prepping, and executing the painting project, you can create an environment that promotes creativity, focus, and enthusiasm among both teachers and students. Embrace the opportunity to revitalize your classroom and inspire

